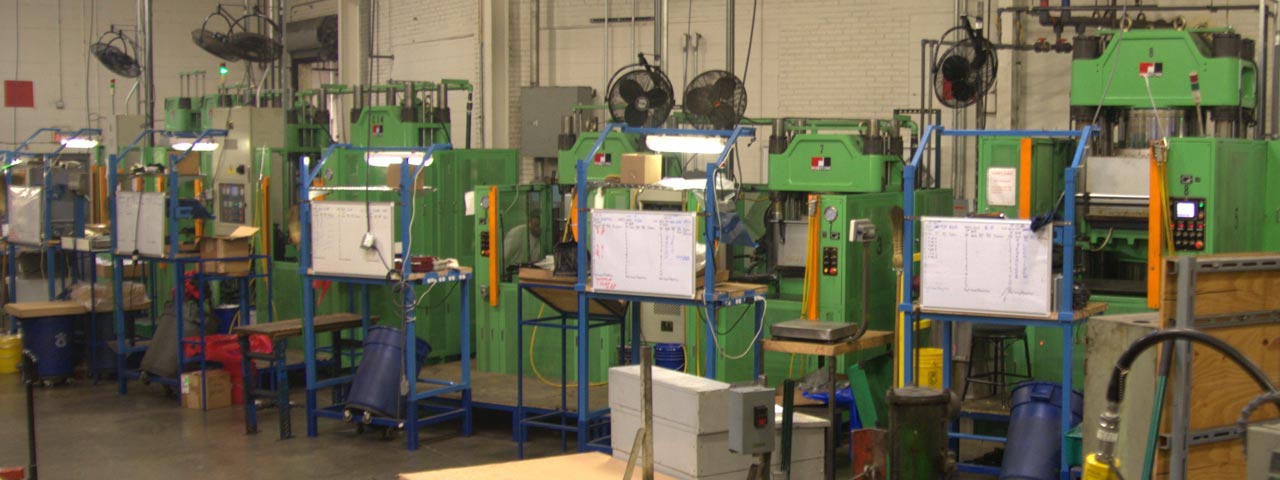
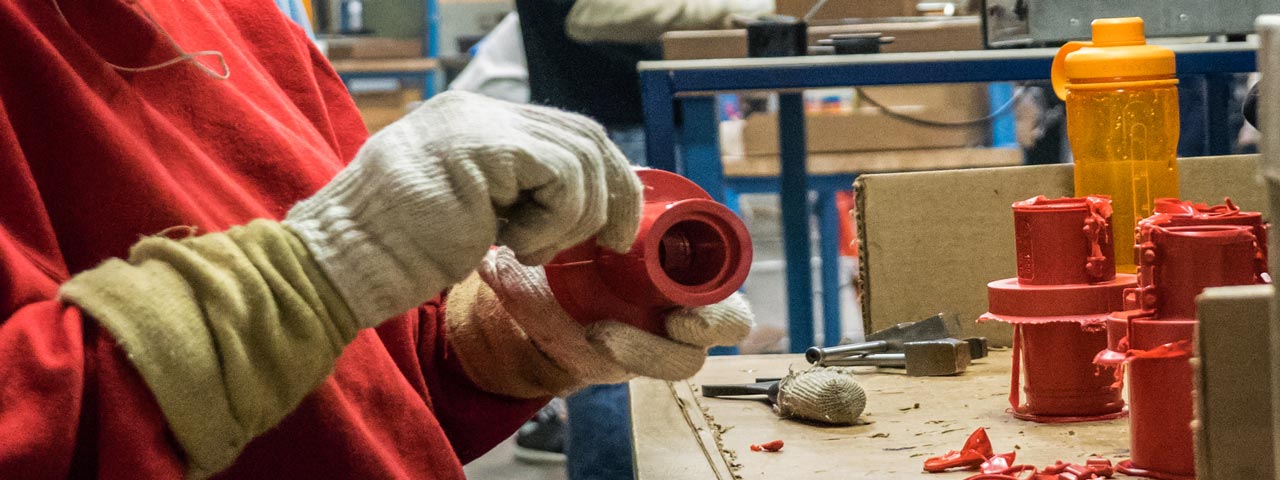
The Rubber Molding Process:
How Rubber Products are Made

When was the last time you went to the store and bought a shapeless blob of rubber off the shelf?
Your answer is almost definitely “never,” because rubber is most useful when it’s been cured and shaped into a useful product. The process of taking raw rubber and turning it into a shape or product is called rubber molding.
Some companies (like Custom Rubber Corp.) specialize solely in molding and shaping rubber into products. There are three main types of rubber molding, which will dive into below. But first, let’s go a little more in depth on the general rubber molding process.
What is the Rubber Molding Process?
There are three main steps in the rubber molding process, each of which changes depending on the type of rubber you plan to use and the end product you want to make.
1. Source Specific Materials
First, rubber molding companies must source specific types of elastomers or uncured rubber from a good supplier. An elastomer is a material that retains its shape despite being distorted or pulled around. Uncured rubber is a raw material not yet processed or molded. It can be natural, derived from rubber trees, but most of the time it is synthetic, usually petroleum-based. Note that the terms elastomer and rubber are used interchangeably within the industry. They’re both essentially a stretchy polymer.
Many rubber products are also made from a mix of different rubbers. The molding company will need to source quality rubber types and amounts based on the desired end product.
2. Pre-shape or mix raw rubber materials
Depending on the type of rubber molding process you plan to use (injection, compression or transfer - more on each below), you may need to pre-mix different rubber types or shape raw material into pellets.
3. Insert raw rubber into machine
Once all appropriate raw rubber materials have been gathered and shaped, you may insert your uncured rubber into your machine of choice. Once activated, the machine will begin to perform the rubber molding process. How it does this depends on the process you’ve chosen to use.
4. Expose rubber to heat
One of our favorite analogies for this step of the rubber molding process is that of spaghetti: Uncured rubber is like a perfectly cooked, fresh plate of pasta. Each noodle is a long chain molecule. When uncured, or fresh off the strainer, you can pull one noodle out of the pile and it will come out easily without sticking to the noodles around it.
The curing process is like microwaving the spaghetti too long, causing the starch on the noodles to stick together. Now if you try to remove just one noodle, a clump will come with it because all the spaghetti, or long chain molecules are connected and prepared to maintain their shape.
All molded rubber is exposed to heat. It activates the chemical reaction that forms and cures the rubber, causing it to maintain its newly molded shape. Once cooled, the rubber will last longer and stay stable in its intended form.
5. Cool rubber and remove from mold
Once appropriately cured, heat is removed and the final product cools down. After cooling, an employee or automated machine demolds the product and sends it onward down the manufacturing line.
Types of Rubber Molding
The process above is a very high-level explanation. Each method of rubber molding follows those general steps, with key variations.
The three most common types of rubber molding are compression molding, injection molding and transfer molding. Each process is slightly different, and comes with its own set of advantages.
What is Rubber Compression Molding? | The Rubber Compression Molding Process
Rubber compression molding is the earliest form of rubber molding. The first consumer rubber products were made with compression molding in the 1890s by Harvey Firestone, and the process has remained more or less the same since then.
First, the initial material is molded into a “pre-form,” which is a slightly larger version of the product in the same shape. For example, if you wanted to mold an O-ring, you would first shape the rubber material into a slightly larger circle shape. By making a bigger version of your end product, you ensure the cavity will be completely filled when molding.
The pre-form is placed into the mold, which is then closed. Heat and pressure are applied, causing excess material from the pre-form to spill over into grooves specifically to catch overflow (or the technical term, flash). The heat and pressure cause the rubber to cure, and the final, cooled product is removed from the mold.
You can see the process in action here:
Advantages of Rubber Compression Molding
- Low-cost tooling in comparison to other types of molding
- Cost-effective process when only medium-level precision is required
- Maximized cavity count
- Minimizes overflow/flash
- Can process most types of rubber
- Allows for longer cure time, if needed
- Great choice for molding large parts
Learn more about Custom Rubber Corp.’s compression molding services here.
What is Rubber Injection Molding? The Rubber Injection Molding Process
Rubber injection molding involves placing pre-heated rubber material into a cavity, then applying heat and pressure to cure. For a few decades, compression molding was the industry’s method of choice. Then, in the 1960s, manufacturers took cues from the plastic industry and began using injection molding to create products. Today, this method is the most widely used, and often the most efficient.
This efficiency is partly due to the fact that injection molding does not require creating pre-forms. Rather, raw rubber materials are mixed in large quantities before being cut into thin strips. These strips are placed manually into a screw, which turns to create momentum, sending the rubber down a conveyance channel to a barrel. As the screw turns, it actually pre-heats the material, making it easier to flow into the mold cavity.
Once safely in the mold, the pre-heated rubber is heated some more, this time with added pressure. As with compression molding, this heat and pressure cure the rubber. The product is cooled, demolded and the machine is prepared for another round.
Watch the process in action here:
Advantage of Rubber Injection Molding
- No need for pre-forms or pre-form placement
- Material enters cavities with more ease than other methods
- Pre-heating with the screw can mean less cure time
- Lower cycle time
- Can produce over-molded products
- Good choice for high-precision applications
- Good choice for products requiring rubber-to-metal bonding
- Minimal flash, or overflow waste
- Able to be completely automated
- Creates consistent products
- Can create more complicated product shapes
Learn more about Custom Rubber Corp.’s injection molding services here.
What is Rubber Transfer Molding? The Rubber Transfer Molding Process
Rubber transfer molding, like compression molding, involves creating pre-forms, but the similarities end here. The pre-forms can be larger, and are not required to be in the shape of the end product. One large pre-form can even fill hundreds of smaller cavities. The pre-form must only fit in the machine’s well pot.
Transfer molding involves several different machine parts working together including a piston, well pot, cavity plate, base plate, sprue plate and ejector that knocks finished parts out of the machine.
In the transfer molding process, pre-forms are not put directly into a mold cavity. Instead, they are put into the well pot, which has a plunger above it and top plate below it. When activated, the plunger presses down on the preforms, thereby “transferring” them from the pot, through sprues and into a mold cavity further down the line.
The plunger remains activated until the mold is filled and enough heat and pressure have been applied to cure the product. The product is then allowed to cool and removed from the mold. The mold cavity and pot are cleaned and prepared for another cycle.
Watch the plunger do its thing here:
Advantages of Rubber Trasnfer Molding
- Requires fewer, less-complex pre-forms than compression molding
- Pre-forms can be cut by hand
- Low-cost tooling
- More precision than compression molding
- Appropriate for rubber to metal bonding
- Appropriate for overmolding
- Can be used for larger parts
- Allows for longer cure times
- Allows for medium-to-high precision, slightly higher than that of compression molding
- Can be used with most elastomers
Learn more about Custom Rubber Corp.’s transfer molding services here.

Rubber Molding Services
Custom Rubber Corp. is a leader in rubber molding parts and products that meet the specifics of our customers' needs. Using well-honed rubber molding expertise, we provide exactly what our name suggests: custom rubber products.
Our products are utmost quality, all made 100% in the USA and delivered on time. We also value our customer relationships immensely, and are fully committed to delivering the best possible experience from quoting to delivery.
Contact Custom Rubber Corp. today to learn more about our molded rubber capabilities or receive a quote.